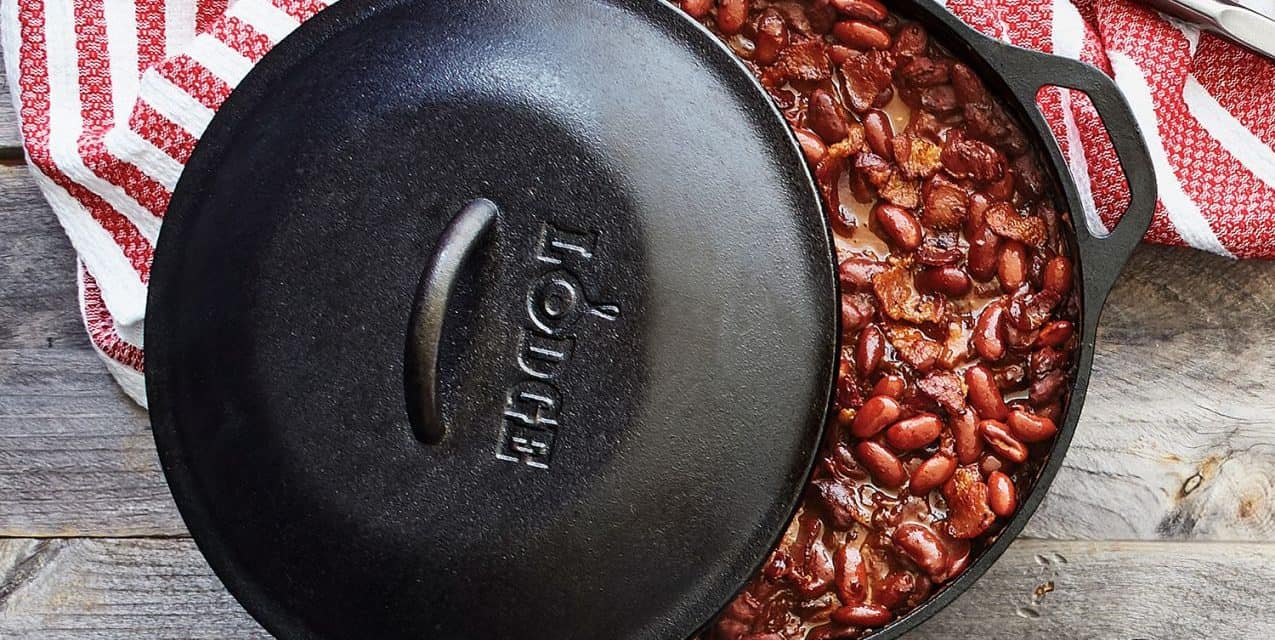
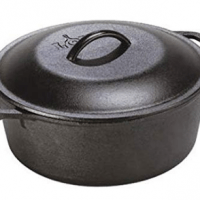
I have always been intimidated by cast iron cookware. Owning pots and pans that needed to be “seasoned” and kept rust free, just seemed too high maintenance for me…until I started using the Lodge Cast Iron Dutch Oven.
I LOVE cooking everything in one pot. My slow cooker was my best friend in the kitchen, and I used it at least once a week to cook dinner for my family. When it kicked the bucket about a month ago, I decided to replace it with an American made one. Well, I could not find a slow cooker made in the USA for less than $100, so off to the big box store I went to purchase a new foreign made one.
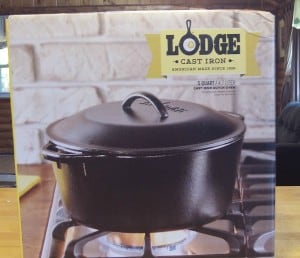
When I was walking down the appliance aisle, a display of cookware caught my eyes, as there were American flag tags dangling from the handles of the pans. Upon closer look, I spotted the box for the Lodge Cast Iron Dutch Oven. Hmmm… I remembered reading somewhere that the cast iron dutch oven was considered “the original slow cooker”….AND this one was made in the USA….. AND it was pre-seasoned! SOLD!
The cast iron dutch oven has quickly become my new best friend in the kitchen. So far, everything that I had cooked in my electric slow cooker, I have been able to cook in the dutch oven, with a few adjustments. Things that took 4-5 hours to cook in the electric slow cooker, take about 1-2 hours in the dutch oven with my oven set at 250-300. I also haven't left my house with dinner cooking in the dutch oven, like I would with the electric slow cooker, but since the cook time is shorter, that hasn't been an issue yet.
Don't miss our list of Cast Iron Cookware Made in the USA
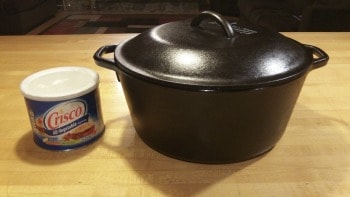
As far as the seasoning and maintenance goes, with this dutch oven it has been super easy. Since Lodge brand cast iron cookware is already pre-seasoned, all I have had to do is maintain it. “Seasoning” is the process of using a fat (vegetable oil) to coat cookware to prevent food from sticking and rust from forming. To maintain the seasoning of my dutch oven, I simply wash it out right after I am done with water. I dry it immediately, and then rub it down with a very thin layer of Crisco. Then, I put it away until next time. Easy Peasy. Hint- keep the lid cracked when storing, or you will be surprised with a strange smell if there is a long period between usage.
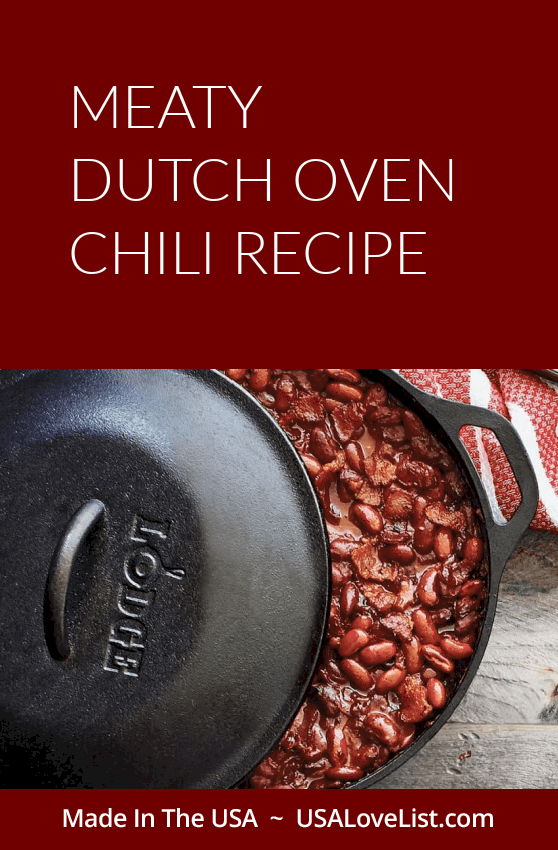
One of my favorite things to make in my dutch oven is chili. I make it to warm our bellies on a cold snowy day, and I make it on game day (HUGE New England Patriots fans over here!), as it's easy to eat in front of the TV. The kiddos love putting toppings on their chili to personalize it to their tastes. Here is my recipe.
Dutch Oven Chili With Toppings
Ingredients
- 1 1/2 - 2 pounds of ground beef, turkey, or venison
- 1 small or 1/2 large onion, chopped
- 1 pepper, chopped
- 2 (or more!) cloves of garlic, chopped
- 1 24 ounce can diced tomatoes
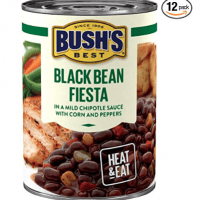
- 1 can of chili beans, or flavored beans like Bush's Black Bean Fiesta
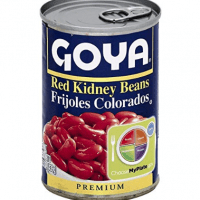
- 2 cans of kidney beans, drained and rinsed (or about 4 cups of pre-cooked dried beans) Most Goya brand beans (canned and dried) are labeled "product of USA".
- About 1/2 teaspoon cinnamon
- About 1/2 teaspoon cocoa powder
- Seasoning for taste: pepper, salt, cumin, chili powder, dried cilantro
- For toppings: Sliced lettuce, chopped tomatoes, sliced black olives, sliced jalapeno peppers, chopped onions, sour cream, salsa, guacamole, and of course, my kids' favorite- tortilla chips.
Instructions
- On the stove top, heat dutch oven on medium heat.
- Add meat of choice and cook until brown. Remove cooked meat with slotted spoon.
- Add chopped onions and peppers to the dutch oven. Cook until soft.
- Add chopped garlic. Cook for a couple more minutes.
- Add meat back to dutch oven. Add diced tomatoes. Add can of flavored beans, undrained. Add 2 cans of drained kidney beans. Stir.
- Add cinnamon, cocoa powder. Add a sprinkling of cumin, chili powder, dried cilantro, salt and pepper.
- Bring to a boil. Reduce temperature to low, cover and simmer for about an hour. I check the chili about every 20 minutes to stir and add more spices if needed. I might add some water too if needed.
- When ready to serve, prepare the topping station so everyone can add their favorite toppings.
- Enjoy!
Recommended Products
As an Amazon Associate and member of other affiliate programs, USA Love List earns from qualifying purchases.
Header Image Credit: Sur La Table
Pin this list to save it for later!


I have a glass top on my stove and I’ve always been afraid to use my cast-iron on top , can I damage the class if I use it?
This chili sounds so good! And when I used to cook on an antique wood stove, I used a cast iron pot like this, and could cook all kinds of dishes that long slow cooking makes amazing. This would be wonderful, and Lodge has such nice cookware!
Perfect for fall bonfire nights!
I just got a dutch oven for Christmas and I need to make this chili!
I love abou anything cooked in cast iron, and yesm the older stuff is all USA made. Its what everyone had before slow cookers. I know alot who make cornbreads etc in their pans. They arent tough to maintain. Some say no water, use salt then reseason.
This looks like a great recipe.
What $100+ crock pots did you find that were made in the USA? Our household is always on the go, so we are looking for something to set and forget. Thanks in advance!
I love cast-iron. I still have & use the cast-iron dutch oven & skillets my grandma used & they are still great.
Does anyone know if it’s possible to re-season or clean up cast iron cookware that has rusted? After my grandmother passed away, we were cleaning out her house and came across a couple of old cast-iron skillets that have some rust on them. I’d love to add them to my cast-iron cookware collection if I can save them!
Hi Katy! Yes! The fabulous thing about cast iron cookware is that it lasts FOREVER, and rust can be removed. This video from Lodge makes rust removal look real easy: https://www.youtube.com/watch?v=Gg6S6vWyPH8&feature=c4-overview-vl&list=PLF41A72C04A6AE443
YES! There are a few different ways to clean up cast iron, my preferred method is by using electrolysis. This website is very helpful to get information on how to restore cast iron. http://www.castironcollector.com/cleaning.php
Also you should check out the Cast Iron Cooking group on Facebook, there are a lot of knowledgeable people there that are willing to help.
Thanks for sharing your tips Tim H! I am checking out that link right now.
sigh I used to have one of these and I do miss it! I esp loved using it on a fancy wood stove I had. I never thought about getting another one, I want this!!!
I love chili, especially when the weather is cold. I usually add corn as well, for some sweet to balance out the spiciness. Serve with some crusty fresh bread. Yum.